Installing Bizagi Studio
Before You Start
Make sure your machine meets the requisites presented in the Bizagi Studio system requirements.
Ensure you have a 64-bit operating system installed.
At this point, you should already have the Bizagi Studio official installer ready (as described in Downloading Bizagi Studio).
Installing Bizagi Studio
Follow the steps below to install Bizagi Studio.
Note:
If you are installing Bizagi with the default database, SQL Server Express 2017, ensure that C++ Redistributable 2017 is uninstalled before installation. You can reinstall it afterward.
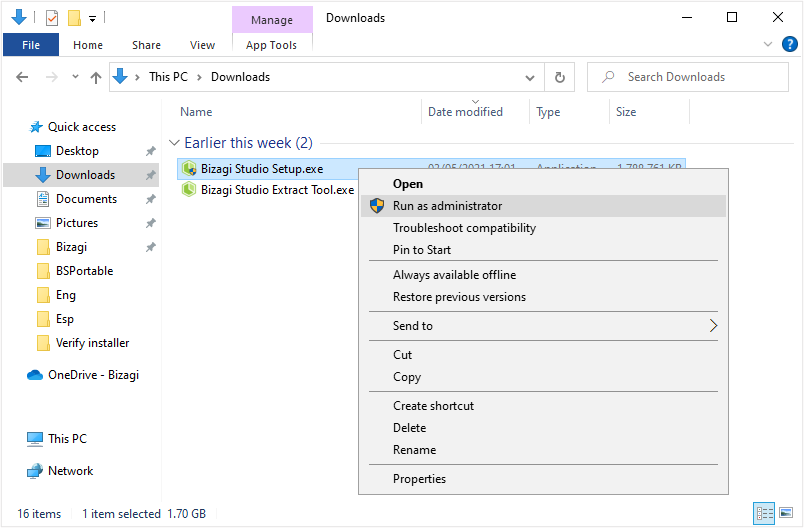
1. Run the Installer
Run the installer with administration rights.
2. Select Installation Language
Choose your preferred language for the installation process.

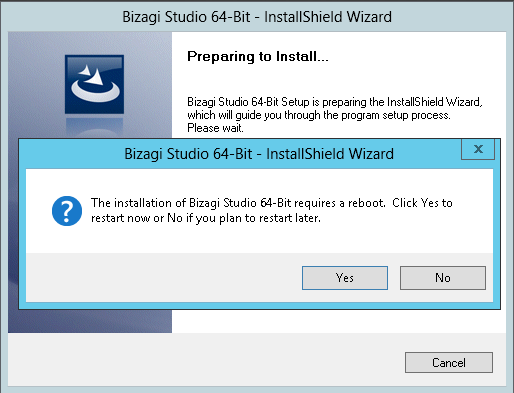
Note:
If the installer detects a pending reboot, it will prompt you to restart your machine before continuing. After the reboot, the installer will resume automatically.
If Microsoft .NET Framework 4.8 is not installed or the version is outdated, the installer will prompt you to install it.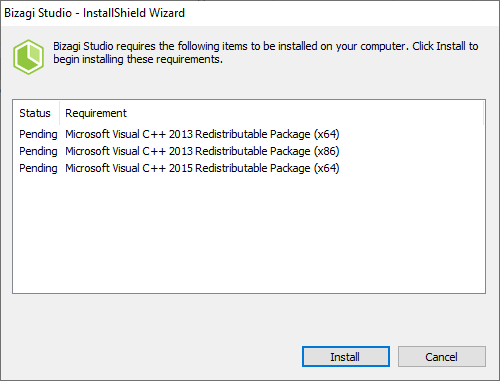
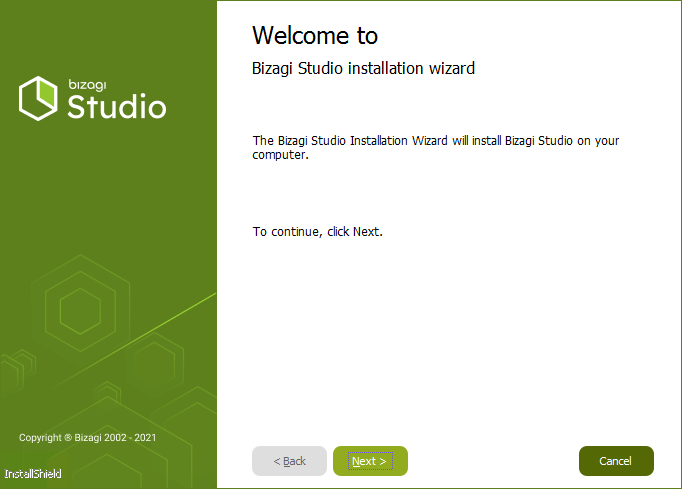
3. Welcome Window
Click Next on the Welcome window of the installation.
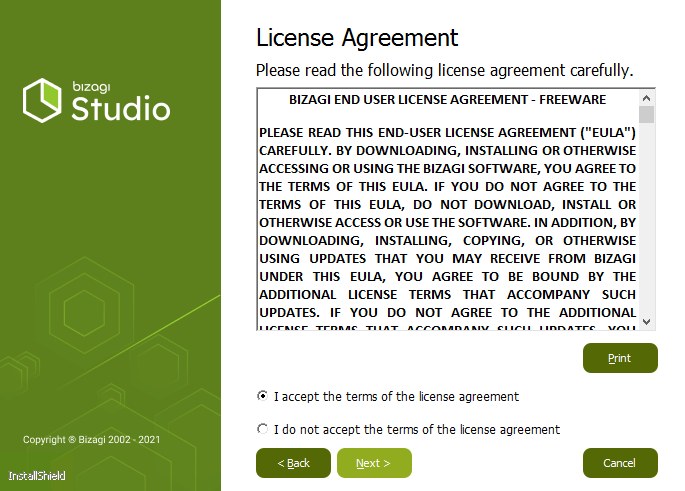
4. Accept the License Agreement
Review the terms of the Bizagi Studio license agreement, accept them, and click Next.
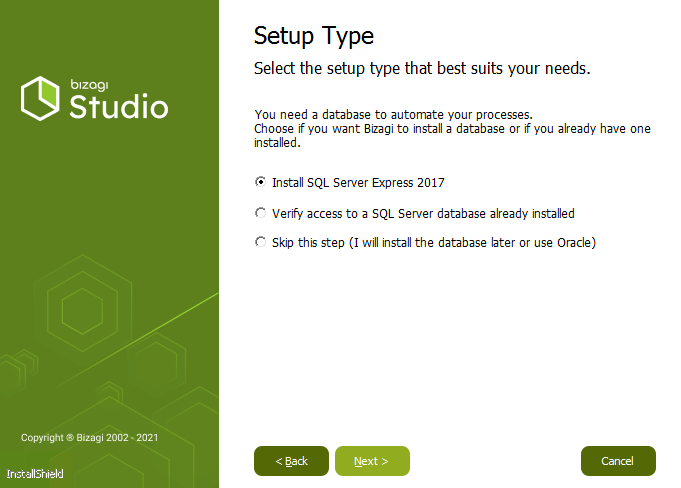
5. Select the Database to Use
-
If you don't have a SQL Server database installed, choose the option to include a local installation of SQL Server Express 2017.
- Default credentials for SQL Server Express 2017: - LOGIN: sa - PASSWORD: BizagiBPM123
Note:
SQL Server Express 2017 is not compatible with Windows 7 and Windows Server 2008.
If you have an incompatible operating system, install Bizagi Studio and configure a compatible SQL Server database separately.
- Default credentials for SQL Server Express 2017: - LOGIN: sa - PASSWORD: BizagiBPM123
-
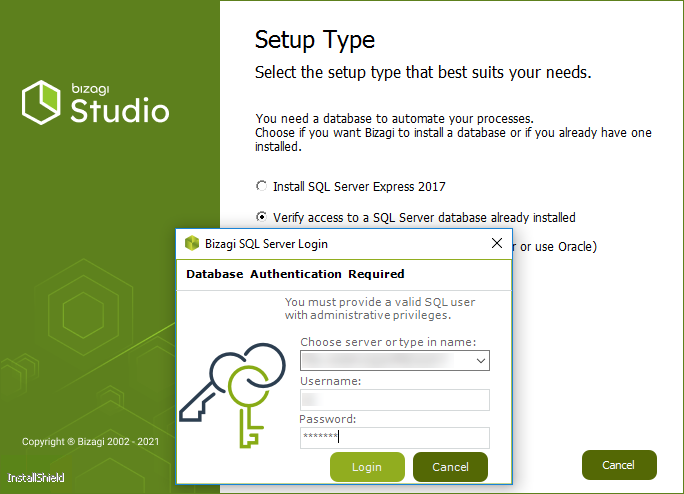
If you already have a compatible SQL Server database installed, choose "Verify access to a SQL Server database already installed." Enter the Username login and password (SQL Server authentication) in the next window, then click Login to verify the connection.
-
You can also choose to skip this step (e.g., if you plan to use an Oracle database). Note that proper database configuration will be required later to create a Bizagi project.
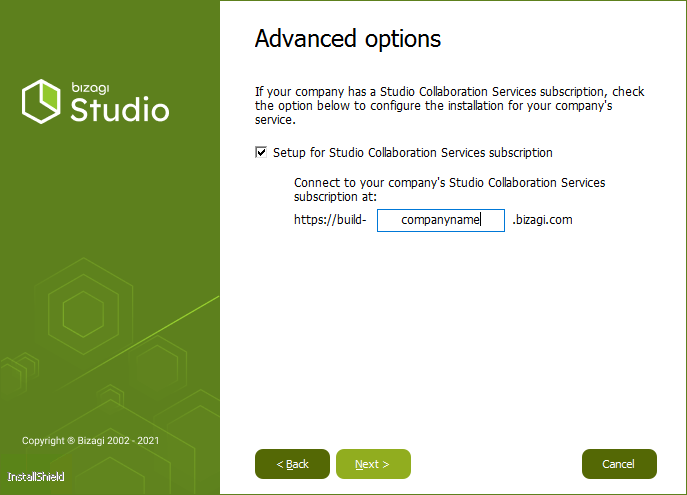
6. Advanced Options
If you don’t have an Enterprise subscription, ensure that the Setup for Studio Services Enterprise checkbox is not selected, then click Next.
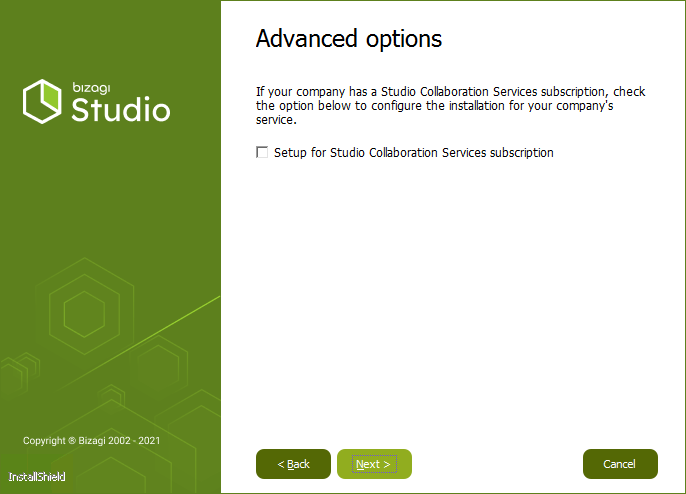 For Enterprise subscriptions, select the checkbox and fill in the required field.
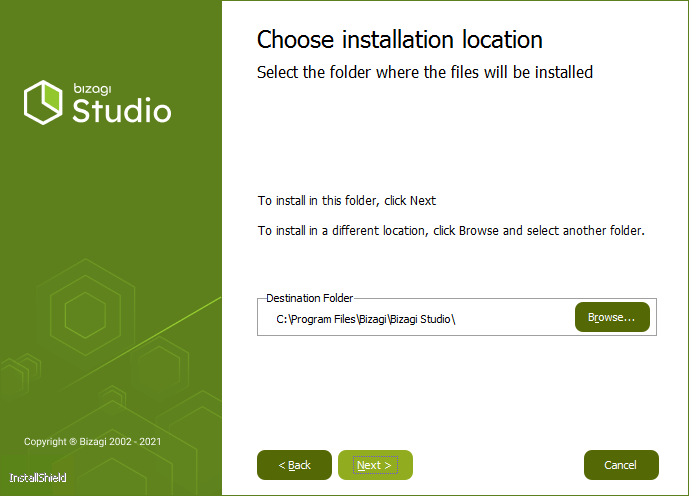
7. Select Installation Path
- To install Bizagi in the default path (C:\Program Files...), click Next.
- Otherwise, click Browse to choose a custom directory.
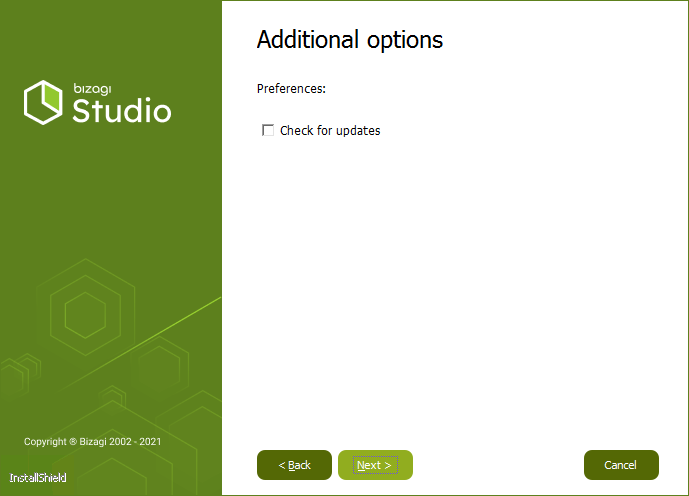
8. Review Preferences
In the next window, choose whether to allow Bizagi to check and notify you of new updates.
- To enable notifications, mark the Check for updates checkbox.
- Click Next to proceed.
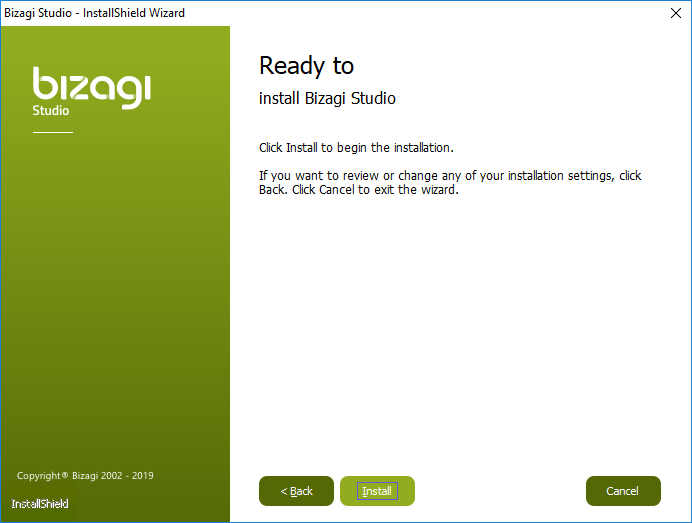
9. Start Installation
Click Install to start the installation process.
Note:
Bizagi will automatically install required components such as Microsoft .NET Framework 4.8 (and dependencies like Visual C++ Redistributable) if they are not already installed.
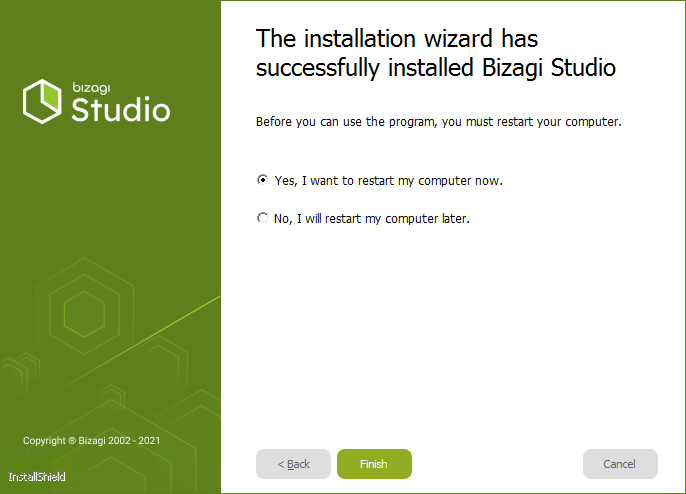
Once the installation is complete, a confirmation window will appear. Click Finish.
Note:
A system reboot is required for proper operation after installation.
Launching Bizagi Studio
After installation, you can:
- Use the Launch Bizagi Studio option.
- Locate the desktop shortcut to run Bizagi Studio.
Upon launching Bizagi Studio, you may be prompted to input your www.bizagi.com account credentials. This allows access to free online resources and support provided by Bizagi.
Ensure you have created a Bizagi account as described in Register to Join the Community.
Next Steps
Once installation is complete, you can create a new Bizagi project to get started, as described in Bizagi Projects.